How to Potty Train a Dog with Pads (Indoor Solutions)
TrainDogBuddy Team
Professional Dog Mentors
Welcoming a new puppy or an adult dog into your home is a joyous occasion, but it also comes with the essential task of potty training. For many pet parents, especially those in apartments, high-rise buildings, or areas with harsh weather, traditional outdoor-only training isn’t always practical. This is where learning how to potty train with pads becomes a game-changer. Indoor pad training a puppy or an adult dog provides a consistent, accessible bathroom spot, reducing accidents and stress for both you and your furry friend.
This comprehensive guide will walk you through every step of the process, from setting up the perfect station to troubleshooting common issues. By the end, you’ll be equipped with the knowledge to successfully navigate potty training a dog with a pad, creating a harmonious and clean living environment.
Why Choose Potty Training with Pads?
Before we dive into the “how,” let’s understand the “why.” Potty training with pads isn’t just a convenience; it’s a legitimate training method suited for many lifestyles.
- Apartment Living: If you live several floors up, taking a puppy out every hour can be unsustainable.
- Busy Schedules: For owners who work long hours, pads offer a reliable solution for their pet’s needs.
- Small Breed Dogs: Tiny dogs have tiny bladders and may not be able to “hold it” for long periods, even as adults.
- Medical or Age-Related Issues: Senior dogs or those with health conditions often need frequent, easily accessible relief.
- Inclement Weather: Brutal winters, heavy rain, or extreme heat make outdoor trips unpleasant and sometimes unsafe.
Understanding that this is a valid and often necessary approach is the first step to success. If you’re not sure where to begin, you can also explore this comprehensive guide to potty training a puppy – three detailed methods to understand the different approaches available.
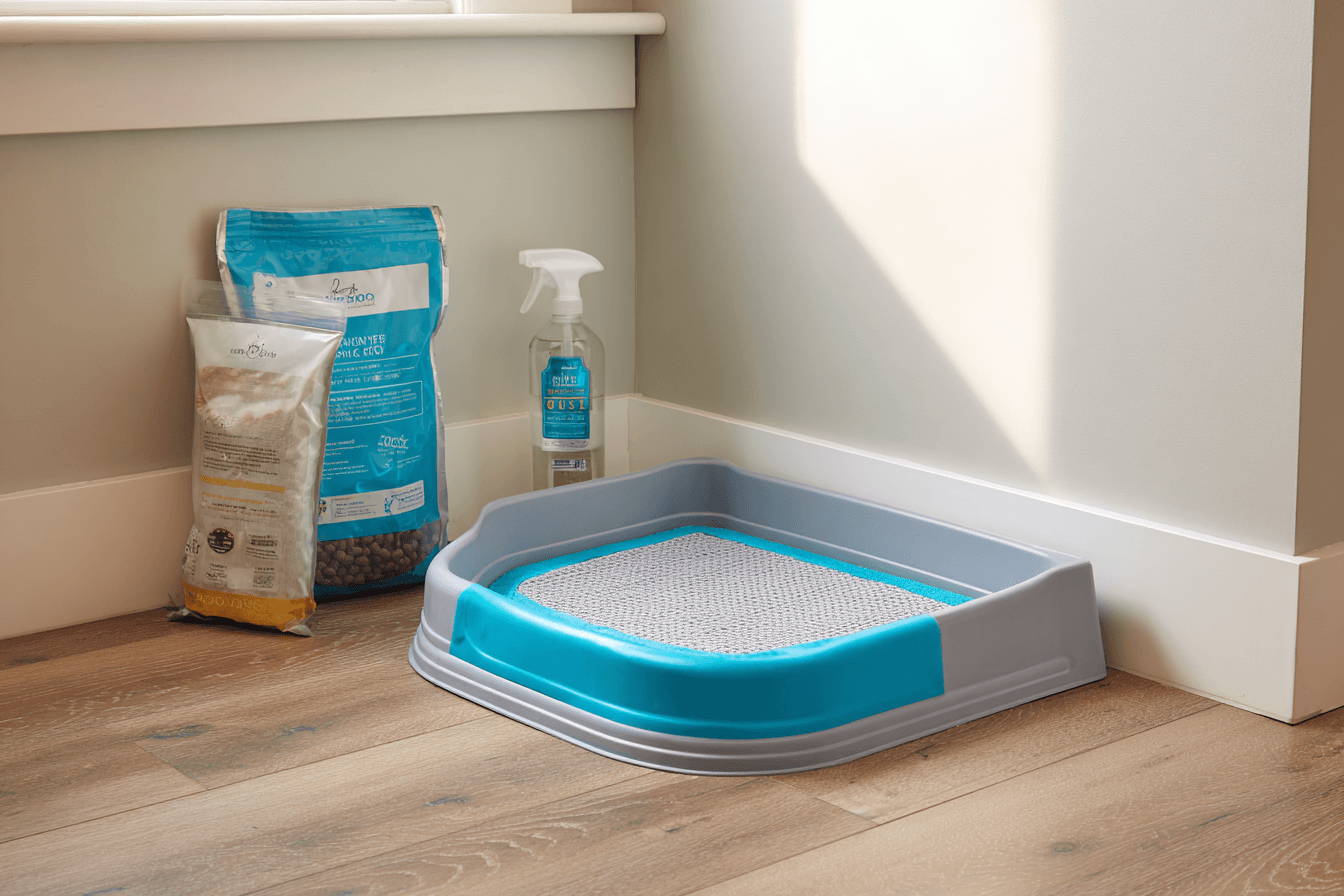
Step 1: Gather Your Supplies and Choose the Perfect Spot
Preparation is key to successfully potty train a dog with pads. You don’t want to be scrambling for supplies after your puppy already has an accident.
What You’ll Need:
- Potty Pads: Choose high-absorbency pads with a leak-proof backing. Scent-attractant pads can be especially helpful in the beginning.
- A Pad Holder/Tray: This is a crucial but often overlooked tool. A holder secures the pad in place, preventing your puppy from scratching, chewing, or bunching it up.
- High-Value Treats: Have a special treat reserved exclusively for successful potty trips to the pad. Learn how to reinforce success with clicker training for potty training, which helps your dog clearly understand when they’ve done the right thing.
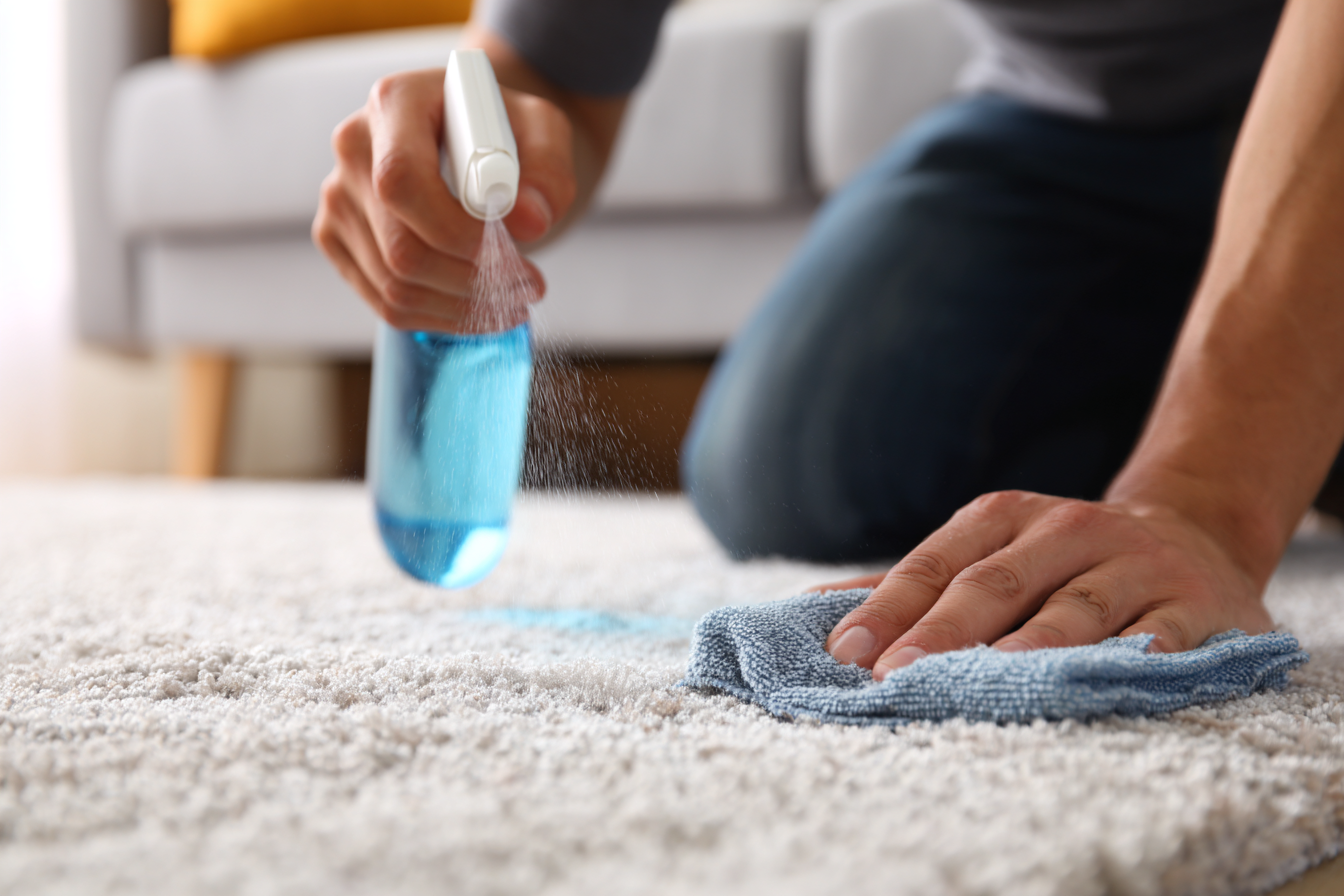
- Enzymatic Cleaner: Accidents will happen. An enzymatic cleaner is the only type that completely breaks down urine proteins, eliminating the scent that draws dogs back to the same spot.
Choosing the Location: Select a low-traffic, easily accessible area like a bathroom, laundry room, or a corner of the kitchen. The spot should be quiet enough for your dog to feel comfortable but not so isolated that they forget it’s there. Consistency is vital—once you choose a spot, stick with it.

Step 2: Establish a Rigid Schedule and Supervise Constantly
Dogs thrive on routine. Establishing a predictable schedule is the single most important factor in pad training a puppy. A general rule of thumb is that a puppy can hold its bladder for one hour for every month of age, plus one. So, a 2-month-old puppy needs a break every 2-3 hours.
Key Times to Take Your Dog to the Pad:
- Immediately upon waking up
- 15-20 minutes after eating or drinking
- After a vigorous play session
- After nap time
- Right before bedtime
- Every 2-3 hours during the day
In between these scheduled times, maintain constant supervision. Keep your puppy on a leash attached to you or use a playpen to limit their access to the house. This prevents stealthy accidents and allows you to catch the signs (sniffing, circling, whining) that they need to go.
If your puppy struggles with structure, introducing crate training your puppy for better house control can greatly help them understand boundaries and timing.
Step 3: The Power of Positive Reinforcement
Forget about punishment. Scolding or rubbing a dog’s nose in an accident is not only cruel but also counterproductive. It can teach your dog to fear you and to eliminate in hidden spots where you won’t see them. The modern, scientifically-backed approach, championed by experts like Dr. Ian Dunbar, revolves entirely around positive reinforcement.
Here’s how to do it:
- Lead your dog to the pad during one of their scheduled times. Use a consistent verbal cue like “Go potty.”
- Wait patiently and quietly. Let them sniff and circle without interaction.
- The moment they finish eliminating on the pad, immediately mark the behavior with a happy “Yes!” or a click from a clicker.
- Instantly reward with a high-value treat and enthusiastic praise. Make it a party! This creates a positive association: “Going on the pad = amazing things happen!”
For additional support, check out cue training for potty training, which helps dogs associate verbal commands with actions more clearly.
Step 4: Managing and Learning from Accidents
Accidents are not failures; they are learning opportunities—for you. If you catch your dog in the act, let out a calm, gentle “Oops!” to interrupt them, then quickly and calmly scoop them up and carry them to the pad. If they finish on the pad, reward them lavishly.
If you find an accident after the fact, do not punish your dog. They will not connect the punishment with an action that happened minutes ago. Your only job is to clean it up thoroughly with your enzymatic cleaner. As dog behaviorist Cesar Millan often emphasizes, a dog lives in the moment. Your focus should be on preventing future accidents through better supervision and a more consistent schedule.
If your dog consistently soils their crate or sleeping area, review the basics of crate training and nighttime routines to help build better control and comfort.
Step 5: Transitioning and Troubleshooting Common Issues
The Problem: My Dog Chews or Plays with the Pad.
The Solution: This is why a pad holder is essential. It makes the pad harder to destroy. You can also offer appropriate chew toys nearby to redirect the behavior.
The Problem: My Dog Misses the Pad.
The Solution: Use a larger pad or a designated turf patch. You can also place the pad inside a shallow, kiddie pool to create a defined “potty area” with raised edges.
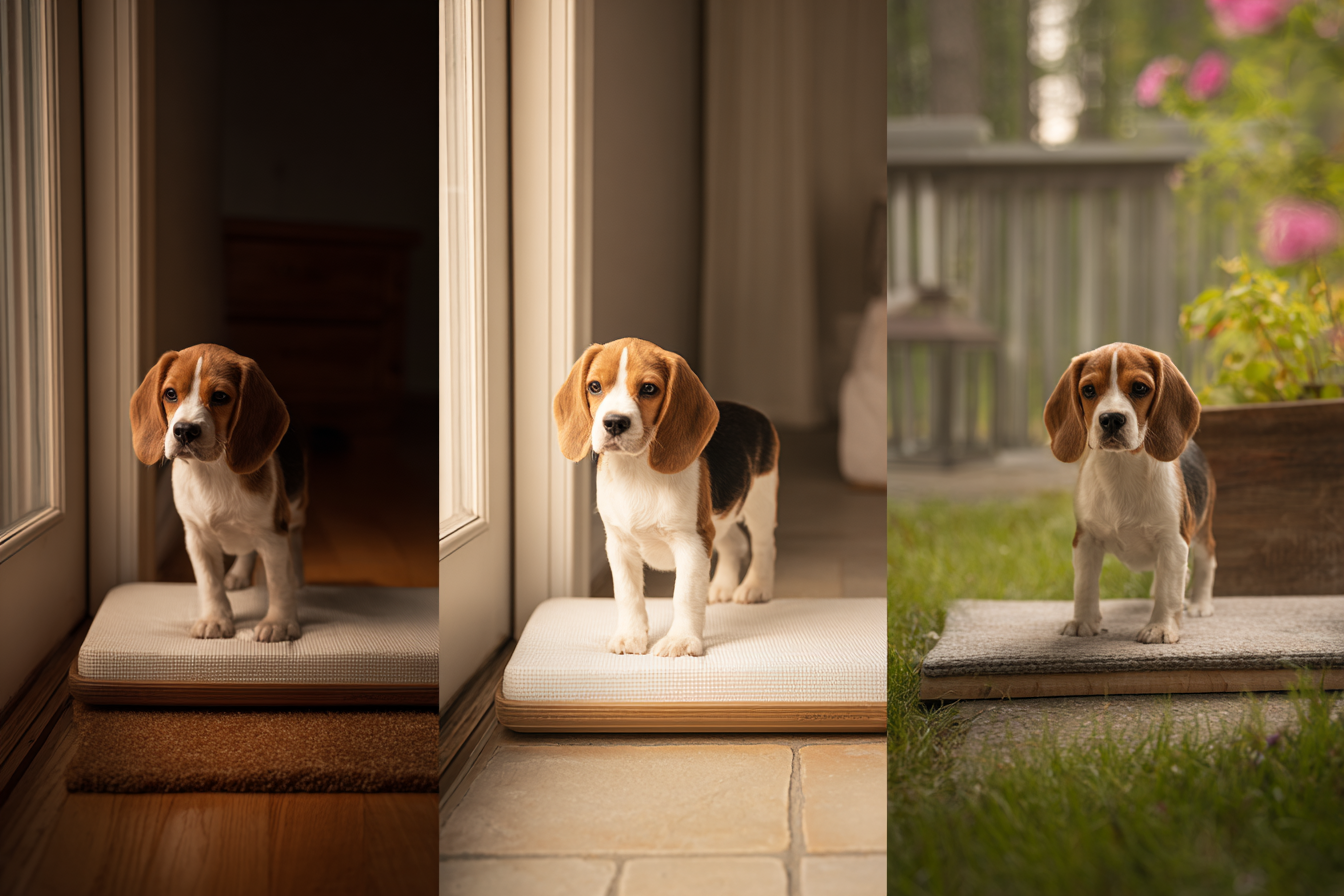
The Problem: Transitioning from Pads to Outdoors.
If your goal is to eventually move outdoors, start by moving the pad gradually closer to the door. Then, place a second pad just outside the door. Eventually, you can take the pad outside with you and place it on the grass. Your dog will associate the surface and scent with the act of elimination, making the transition smoother.
For more advanced guidance, you can follow the tethering method for potty training your puppy, which encourages more consistent bathroom habits.
Final Thoughts: Patience and Consistency are Everything
Successfully learning how to potty train a puppy with a pad is a journey that requires immense patience, unwavering consistency, and a positive attitude. There will be good days and frustrating days, but by setting up a clear routine, using powerful reinforcement, and managing mistakes intelligently, you will build a foundation of understanding and trust with your dog.

Remember, the goal of potty training with pads is to provide your dog with a clear, acceptable place to relieve themselves, ensuring a happy, clean, and stress-free home for everyone involved. Stick with the plan, celebrate the small victories, and soon, your dog will be a pad-training pro. If your puppy is just starting training overall, you can also learn when to start dog obedience training at the right age to build good habits from day one.
Need a personal trainer for your dog?
Find the best certified professionals in your area and start training today.